*Sponsored Post. I received free Davidson’s Safest Choice Eggs in exchange for my post. Post contains affiliate links.
I have always been a firm believer in homemade tastes better than store bought – cookies, bread, jam, and yes even homemade mayo!
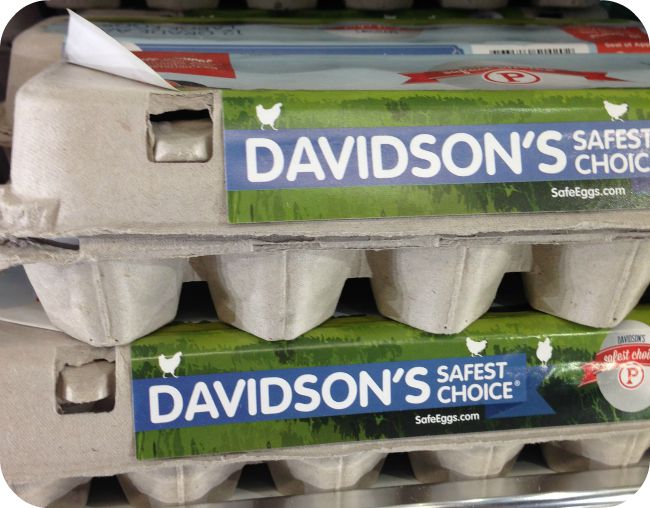
 There have been a few things that have kept me from making homemade mayo in the past, the first being that it contains raw egg. Enter Davidson’s Safest Choice Pasteurized Eggs. This isn’t pasteurized “egg product” in a carton, but rather real, in-shell large eggs that have been pasteurized to eliminate the risk of Salmonella in eggs before you even bring them home to your kitchen. And you know what that means? When you use Davidson’s Safest Choice Pasteurized Eggs you can eat your raw cookie dough, homemade mayo, homemade Caesar salad dressing, and even your sunny-side up fried eggs without fear – even if you are pregnant or a young child!
Once the egg hurdle was taken care of, my next issue was how long it can take to build your emulsion and s-l-o-w-l-y add in the oil. This process could easily take 15-20 min or more, depending on the strength of your whisking arm. Here’s where my stick-blender saved the day. I have a Braun Hand Blender that’s about 12 years old, so here is the link to the “new model”.
Davidson’s Safest Choice Pasteurized Eggs + Braun Hand Blender = 30 Second Homemade Mayo
1 Davidson’s Safest Choice Pasteurized Egg yolk
1/2 tsp dried mustard
1/8 tsp paprika
1/8 tsp black pepper
1/4 tsp salt
2 pinches of sugar
2 tsp fresh lemon juice
1 T apple cider vinegar
1 c neutral oil – safflower, canola, corn, or vegetable oil
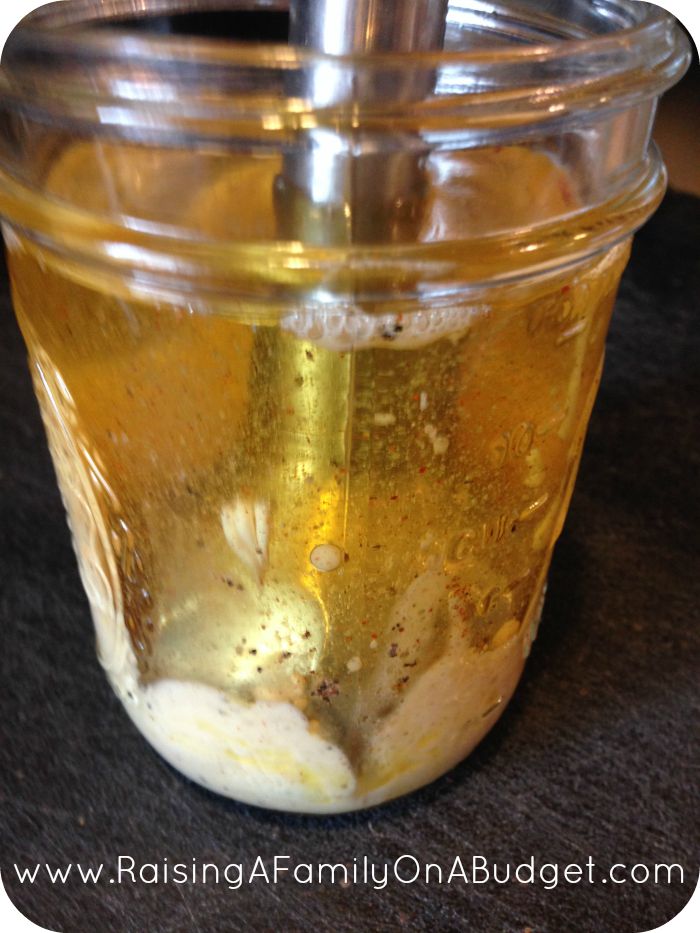
In a glass container, that has an opening large enough for your stick blender, add the egg yolk, spices, acid, and then oil. You read that right, EVERYTHING goes in the jar from the beginning.
Put in your stick blender so the blade is all the way to the bottom of the container. Turn it on high and hold it on the bottom of the jar for 10-seconds. You will see your emulsion starting to form. Then, slowly lift your stick blender out of the container, and VOILA! Homemade mayo!
Its very important that while you are lifting your stick blender, you do so slowly. Moving too fast or whipping for too long will result in a broken emulsions, which looks horrible. You can salvage your emulsion though by placing an additional egg yolk in the bottom of a clean container, and dumping your broken emulsion on top. Follow the same steps, and you just saved your broken mayo!
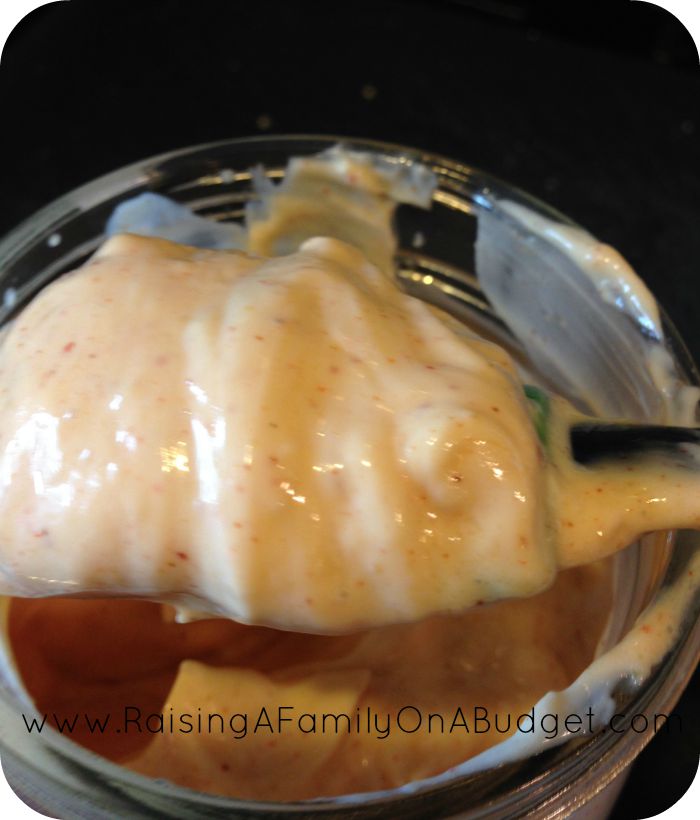
Homemade mayo is thick, rich, and creamy and unlike anything you’ve ever had from a jar. Unfortunately, fresh mayo only lasts 4-6 days in the fridge, but with this super simple technique, you can easily make a fresh batch as you need it.
- 1 Davidson's Safest Choice Pasteurized Egg yolk
- 1/2 tsp dried mustard
- 1/8 tsp paprika
- 1/8 tsp black pepper
- 1/4 tsp salt
- 2 pinches of sugar
- 2 tsp fresh lemon juice
- 1 T apple cider vinegar
- 1 c neutral oil - safflower, canola, corn, or vegetable oil
- In a glass container, that has an opening large enough for your stick blender, add the egg yolk, spices, acid, and then oil. You read that right, EVERYTHING goes in the jar from the beginning.
- Put in your stick blender so the blade is all the way to the bottom of the container. Turn it on high and hold it on the bottom of the jar for 10-seconds. You will see your emulsion starting to form. Then, slowly lift your stick blender out of the container, and VOILA! Homemade mayo!
- Its very important that while you are lifting your stick blender, you do so slowly. Moving too fast or whipping for too long will result in a broken emulsions, which looks horrible. You can salvage your emulsion though by placing an additional egg yolk in the bottom of a clean container, and dumping your broken emulsion on top. Follow the same steps, and you just saved your broken mayo!


Who knew? Homemade mayonnaise? Impressed once again.